For enhanced control and branding of your landing page, you can use HTML, CSS, and JavaScript to create a bespoke landing page tailored to your unique needs.
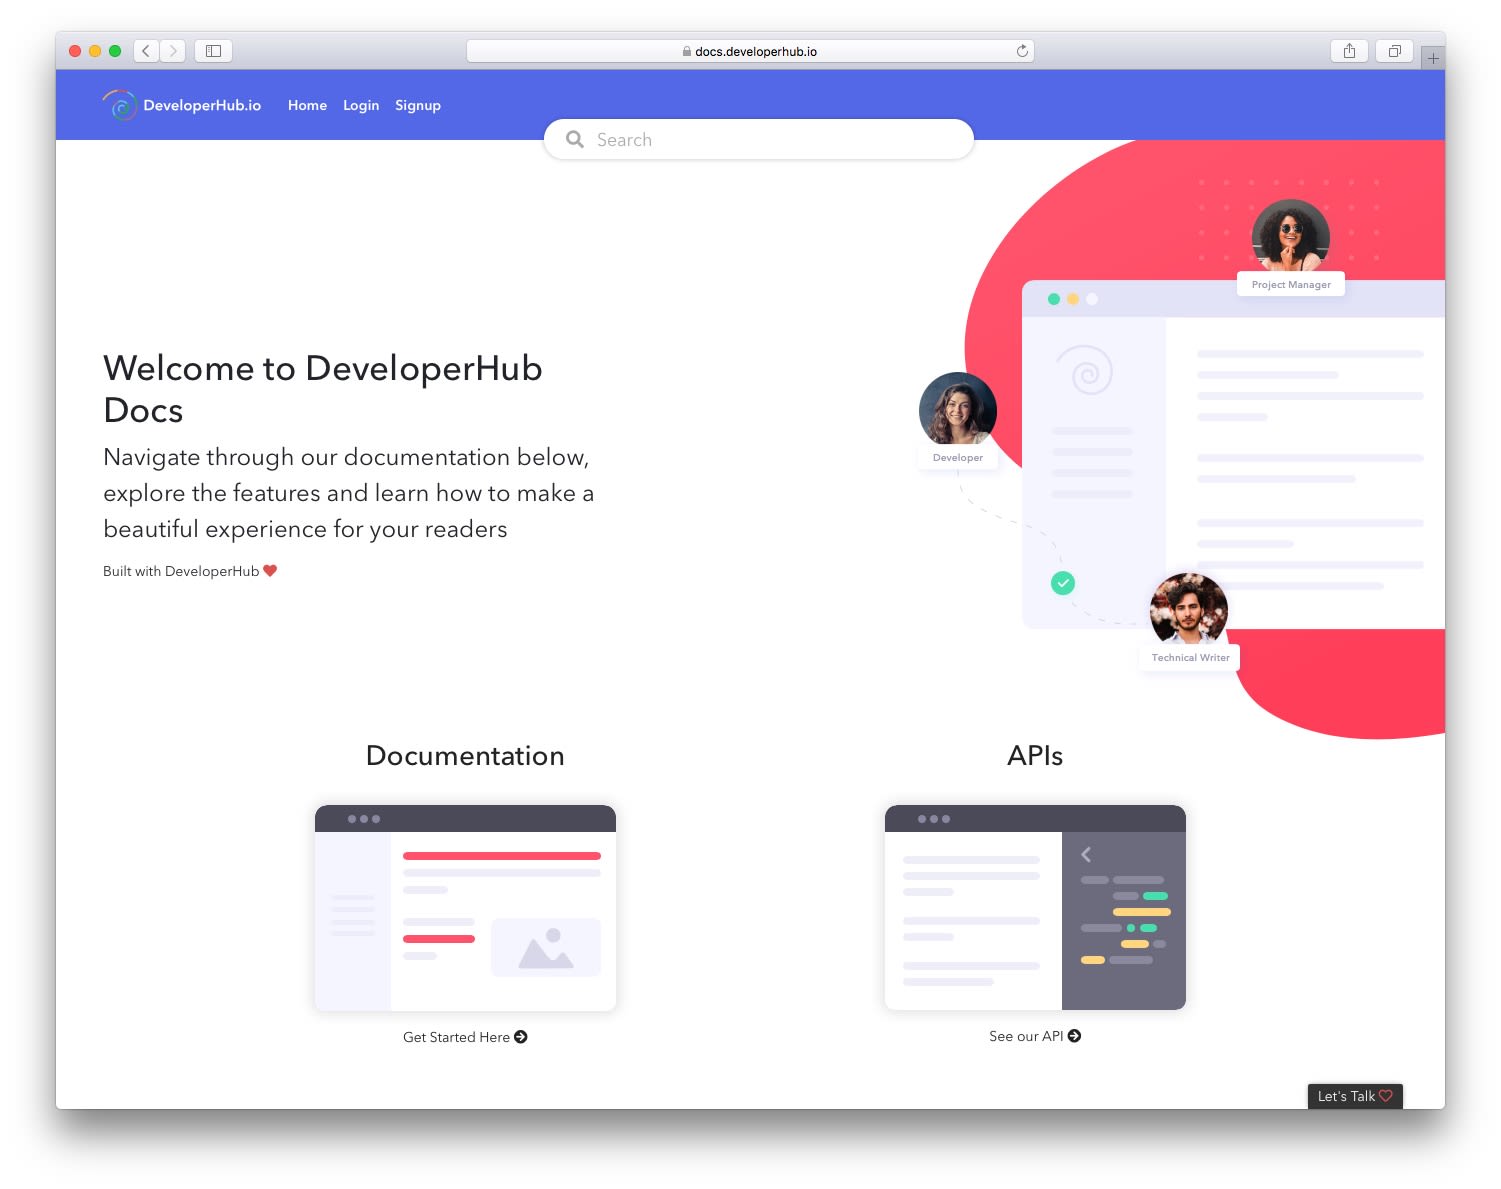
Our Custom Landing Page
Use Custom Landing Page
To enable a custom landing page for the main landing page:
- Open the Landing Page from the sidebar
- Select the main landing page.
- Click on the
settings icon at the top. - Click on Enable next to Use Custom Page.
To modify the landing page HTML:
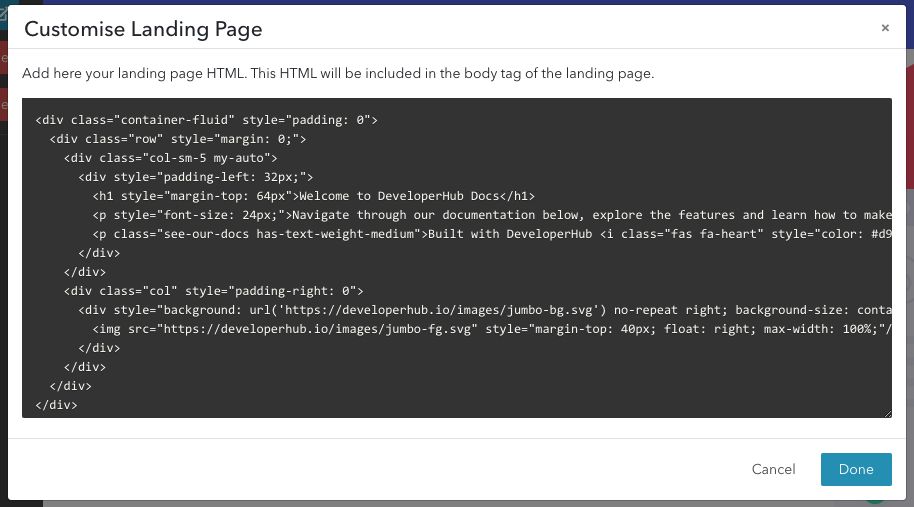
Click Edit HTML.
Paste or type in the HTML to make your custom landing page. Click Save. This will save the HTML in draft mode so that you can test it out.
To publish it to readers, click Save & Publish.
To revert the draft changes, click Revert.
The HTML you provide will be inserted into the body of the landing page in a div with landing-page-container class. Thus, do not wrap everything in <html> tag. <head> tag will also be discarded. See our examples below.
This also apply to <style>. All styles should be moved to Custom CSS.
Crafting a Landing Page
Customize HTML for the Landing Page
When customizing the landing page, you have the option to enter HTML code, which will be inserted asynchronously into your landing page.
Note that we do not evaluate or validate the HTML inserted - please double check that it is valid.
Adding CSS
To add CSS to improve your website or application, you have several options:
You can add your custom styles directly to Custom CSS.
You can include your CSS styles in the Custom HEAD Tags section by wrapping them in a
<style>tag.If you prefer to use an external stylesheet, link to the CSS file with a
<link>tag for easier organization and maintenance of your CSS rules.
xxxxxxxxxx<link rel="stylesheet" type="text/css" href="MyCustomeCSSFile.css"/>Remember that the CSS is applied globally. Modifying classes of conventional names (specially Bootstrap selectors), such as .container might have unwanted effects.
Adding Javascript
If you wish to add Javascript, then you can add it in Custom HEAD Tags in a <script> tag. If you wish to reuse the cards from our original landing page, then you can listen to a dedicated event oncardschanged as such:
xxxxxxxxxx<script>document.addEventListener('oncardschanged', function (event) { console.log("cards changed", event);});</script>This event also indicates that the landing page HTML has already loaded, and that you can query its selectors.
The event output looks like the follows for the main landing page:
xxxxxxxxxxCustomEvent { "detail": { "sectionType": "landing-page" "docs": [ { "title": "Start Here", "link": "/support-center", "details": [ {"title": "Getting Started", "link": "/support-center/getting-started"}, {"title": "Writing Documentation", "link": "/support-center/writing-documentation"}, {"title": "Structuring Documentation", "link": "/support-center/structuring-documentation"} ] }, { "title": "Blocks", "link": "/support-center", "details": [ {"title": "Code Blocks", "link": "/support-center/code-blocks"}, {"title": "Callouts", "link": "/support-center/callouts"}, {"title": "Images", "link": "/support-center/images"} ] }, ], "refs": [ { "title": "API", "link": "/api" } ] }}For a non-main landing page, the detail would be as such:
xxxxxxxxxxCustomEvent { "detail": { "sectionType": "custom-page", "sectionId": 612 "docs": [ { "title": "Start Here", "link": "/support-center", "details": [ {"title": "Getting Started", "link": "/support-center/getting-started"}, {"title": "Writing Documentation", "link": "/support-center/writing-documentation"}, {"title": "Structuring Documentation", "link": "/support-center/structuring-documentation"} ] }, { "title": "Blocks", "link": "/support-center", "details": [ {"title": "Code Blocks", "link": "/support-center/code-blocks"}, {"title": "Callouts", "link": "/support-center/callouts"}, {"title": "Images", "link": "/support-center/images"} ] }, ], "refs": [ { "title": "API", "link": "/api" } ] }}Where sectionId is an identifier you may use to customise what elements are added to which landing page.
Linking to Content
To navigate to content in the documentation from your landing page, use absolute paths. When using absolute paths, the navigation would be done internally in the single-page application, rather than a full-slow navigation. For example:
xxxxxxxxxx<a href="/support-center/getting-started"> Getting Started</a><!-- If your project has a basepath (e.g. docs), include it --><a href="/docs/support-center/example-requests"> Example Requests</a> <!-- ❌ do not use for internal navigation --><a href="https://docs.example.com/support-center/getting-started"> Example Requests</a>If you are creating the content dynamically using Javascript, you can use window.applyClickHandlersOnLinks() at the end of your javascript (when all anchors have been added) to make all absolute path links navigate internally:
xxxxxxxxxxconst anchor = document.createElement('A');anchor.href = "/support-center/getting-started"; window.applyClickHandlersOnLinks();Previously, openLink function used to handle opening internal links. This is no longer required and such functions can be removed.
Tips & Tricks
Hiding Top Navigation Bar
If you wish to hide the top navigation bar when on the custom landing page, you can do that using Javascript:
xxxxxxxxxx<script> document.addEventListener('onsectionchange', function (event) { switch (event.detail.type) { case 'landing-page': document.querySelector("app-top-nav").style.display = "none"; break; default: document.querySelector("app-top-nav").style.display = "inline"; } });</script>Mocking default Landing Page
Our own custom landing page available at https://docs.developerhub.io includes the cards which exist in the default contents of the landing page. In order to mimic this layout, you may use the following code (works for single version, single documentation projects) - or modify it to fit your needs:
<div class="container"> <div class="row"> <div class="col"> <h4 style="border-bottom: 3px solid #ff536b; border-radius: 1px; display: inline-block; margin-bottom: 64px; line-height: 2;"> Browse through our documentation </h4> </div> </div> <div class="row" id="landing-cards"> </div></div>The CSS is unchanged.