Synced blocks help you manage content effectively by allowing you to create one piece of content that can be reused on many pages. This is known as single-sourcing. When you change a synced block, those changes automatically apply to all pages using it. This keeps your content consistent and makes it easier to update, reducing duplication of work.
Reuse Content - Creating Synced Blocks
To create a synced block:
Type
/ Choose Synced Block
. Choose Create New Synced Block. A form will show.
In the form, you need to define:
- ID: An identifier for the synced block. Once saved, the ID is immutable and cannot be changed. This ID will be present in your exports, helping you keep track of your content. For instance, if you are crafting a guide on installing Docker, a suitable ID could be
docker-installation. This ensures clarity and consistency across your documentation. - Title: Choose a title that precisely reflects the content, ensuring it is convenient for your teammates to find. Remember, the title is editable, so you can modify it at any time later.
- The contents: Utilise the editor to compose the contents of the synced block. These contents are flexible and can be modified later. Feel free to include any blocks that are already supported in DeveloperHub.
- ID: An identifier for the synced block. Once saved, the ID is immutable and cannot be changed. This ID will be present in your exports, helping you keep track of your content. For instance, if you are crafting a guide on installing Docker, a suitable ID could be

Reuse a Synced Block
To reuse a synced block:
- Start a new line (using
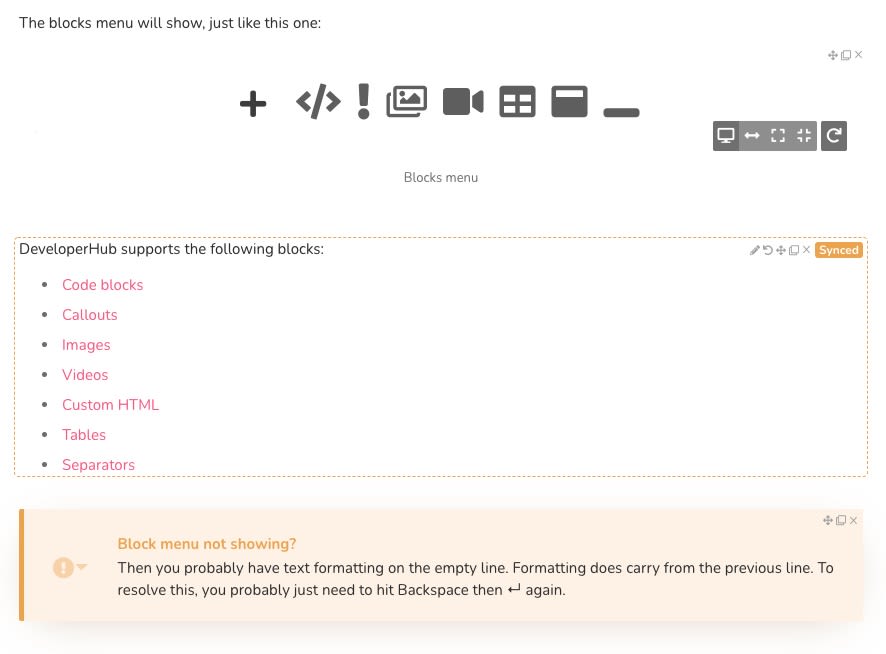
↵ ) - Click on
to open the blocks menu. - Choose Synced Block
. - Choose Choose Existing Synced Block.
- Select the synced block you want to reuse, or search for it first.
- Click on Choose.
Identifying a Synced Block
When you are in the editor, synced blocks will have a
Editing a Synced Block
When you modify a synced block, the changes are reflected in all instances where it is utilized. Please note that only Publishers have the permissions necessary to perform this operation.
To edit a synced block:
- Go to a page that has the synced block to be edited.
- Click on the
icon at the top right of the synced block. - A form will appear where you can modify the title and contents.
- Make the changes and click Save.
Deleting/Archiving a Synced Block
Once a synced block is added to your project, it cannot be deleted; however, it can be archived. Archiving a synced block does not eliminate its instances from any page where it has been added. Instead, it only removes the block from the list of synced blocks available for your teammates to select.
To archive a synced block:
- Start a new line (using
↵ ) - Click on
to open the blocks menu. - Choose Synced Block
. - Choose Choose Existing Synced Block.
- Find the synced block to archive, and hit the
icon next to it. - Confirm your choice.
Using Page Links in Synced Blocks
You can link to pages inside a synced block. Please note that there are certain limitations to its use that you should be aware of.
When the synced block is used in a different version than the one created in, it will be matched using the page slug. Changing the page slug in the source version or the destination version will break the link - and you will be notified when viewing a page that has the synced block.
For example: If you created a synced block that links to "Contact Us" page in v1.0 having "contact-us" slug, then used the synced block in v2.0 and later changed the Contact Us page slug to "how-to-contact-us", then the page link will break in v2.0. You would need to create a separate synced block for v2.0 to handle this situation.